Develop a residential property – Key Steps
📢 In 2026, we’ll launch a module sharing insights on the National Construction Code.
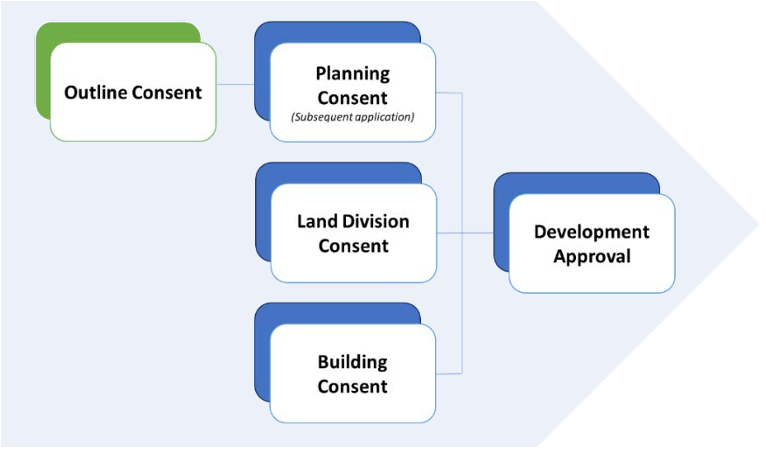
Stage one
Obtain Development Approval from PlanSA
(1) Planning Consent assesses how your proposed building or land use would affect the local area and neighbouring properties. Submit with concept drawings — site plan, floor plans, elevations, external finishes.
(2) Building Consent assesses whether your proposed construction meets the technical and safety requirements of the National Construction Code (NCC) and relevant Australian Standards. Submit with full working drawings, engineering reports, energy reports.
(3) Once both consents are granted, they combine to form a final Development Approval.
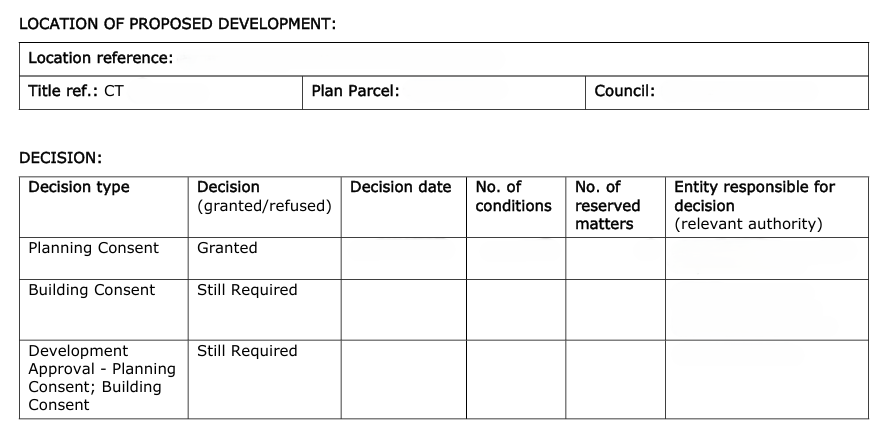
In South Australia, all DA or development applications including for Planning Consent and Building Consent are lodged through the official PlanSA portal. PlanSA
A Decision Notification Form (DNF) will be sent to your registered email for each approval.
Subdivision (if applicable)
To divide a land parcel into two or more allotments, an additional Land Division Consent must be granted through PlanSA. Land division consent | PlanSA
Once all conditions are met and the plan of division is registered, new Certificates of Title (CTs) for each newly created allotment will be issued by Land Services SA. Land Services SA | Land Services SA
Subdividing is typically more complex and time-consuming than a simple land transaction, as it involves additional planning assessments, infrastructure requirements, and authority referrals.
Source: PlanSA
Stage two
Abolishment of Services (if required)
(1) Electricity: To abolish an electricity supply in South Australia, contact your electricity retailer to request an abolishment. The retailer will arrange for SA Power Networks to disconnect the power and remove the meter. You’ll be responsible for the abolishment cost, and confirmation will be provided once the work is complete.
(2) Gas: To abolish a gas supply, contact your gas retailer and request a permanent disconnection. The retailer will arrange for Australian Gas Infrastructure Group (AGIG) to disconnect the gas service and remove the meter. You’ll be responsible for the abolishment cost and receive confirmation once the work is complete.
(3) NBN: Contact your NBN service provider to disconnect the internet service. If your property has external NBN equipment, your provider can arrange with NBN Co to remove it. Sometimes NBN covers the cost, but you should check with them.
(3) Water: You are not required to disconnect the water service during construction; however, you must have a licensed plumber cap off the water supply line/pipe to prevent any leaks.
If a relocation of the water meter is required for your construction needs, you need to submit an application through the SA Water website. Both an application fee and relocation costs will be charged.
SAWater – Altering or relocating an existing water or sewerage connection
Extra Tips – Experience Sharing
(1) The abolishment of electricity and gas services is very time-consuming (it may sometimes take several months). Please ensure you regularly track the job status with your energy retailers if you do not hear from them.
(2) When applying for the abolishment of electricity service, you will need your National Metering Identifier (NMI), which can be found on your electricity bill.
(3) In some cases, external overhead lines may be connected to your property. If so, please take a photograph and send it to SA Power to confirm whether the line is an electricity cable or a telecom. cable. These cables must be removed prior to the demolition of your property.


If it is confirmed to be an electricity cable, you should notify SA Power when applying for the electricity abolishment. For a telecom. cable, submit an abolishment application via the NBN website (Relocating or modifying nbn infrastructure | nbn), as phone support is not available for this request. There is no cost for residential properties.
(4) Capping your water supply during construction will still incur supply charges, so please ensure your billing postal address is up to date. However, if you choose to disconnect your water supply, an application fee will apply.
(5) For older properties, before demolition, always double-check whether a gas pipe is present, even if gas is not currently in use. You can call 1300 650 950 (APA Group) to confirm. APA Group
Stage three
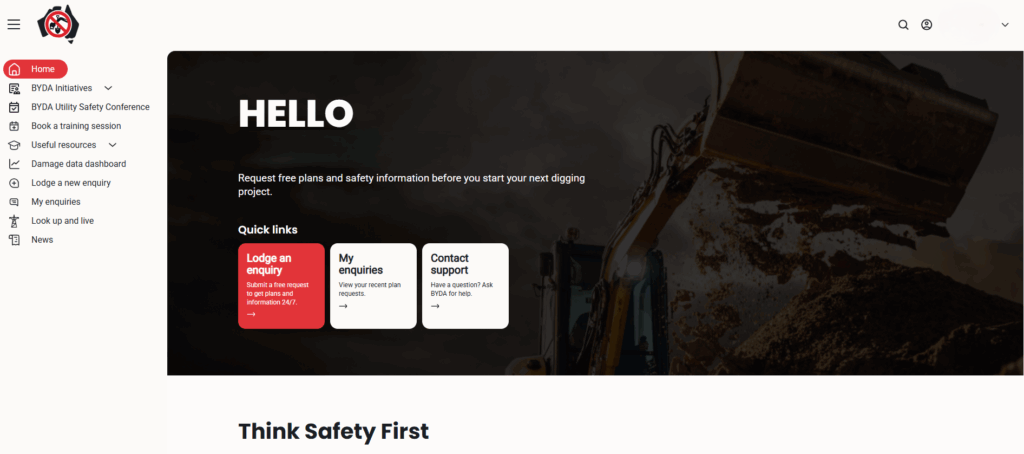
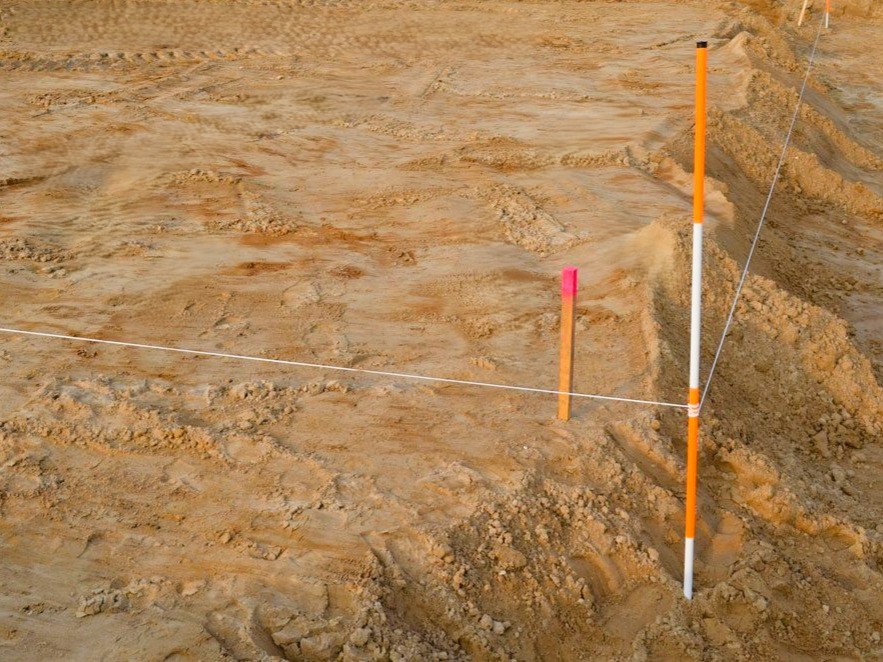
BYDA Report: Essential Before Any Excavation
Before You Dig Australia (BYDA): A free national referral service that provides detailed information about the location of underground and overhead infrastructure. It is designed to prevent damage to these essential services and to ensure the safety of workers and the community during excavation activities.
Stage fOUR
Demolition (if required)
Tips for a Reliable Demolition Company?
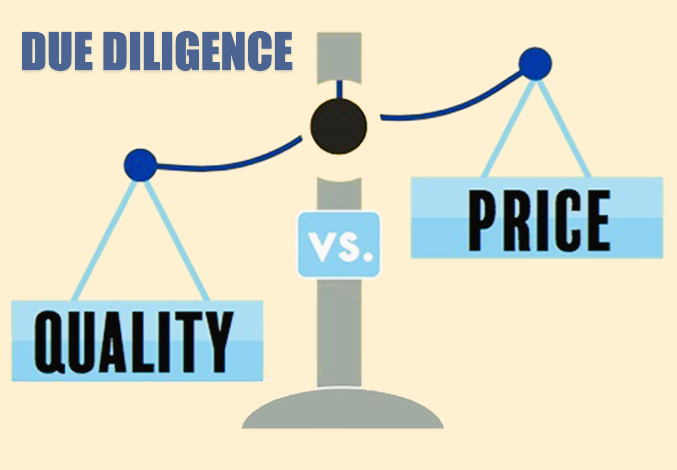
Collect price quotes from at least 4 to 8 local demolition companies. Authorise an on-site inspection as part of the quotation process and request a formal contract detailing all inclusions and exclusions. Prices are only comparable when the inclusions are identical.
Variations in the final price are usually due to the depth of concrete foundations and the presence of hidden asbestos, which can only be confirmed during demolition. Demolition companies typically allow for footing removal up to 600mm or 800mm in depth. Please ensure you understand all terms outlined in the “exclusions”.
Proper post-demolition site cleaning is essential and should be confirmed as corner-to-corner clearance. Additionally, please confirm that the site will be leveled to the natural ground level.
It is essential to verify that the demolition companies hold valid public liability insurance, providing adequate coverage for any damages, injuries, or liabilities that may arise during the demolition work.
Under the Planning, Development and Infrastructure Act 2016 (SA): You must obtain Development Approval before carrying out demolition work, unless it’s explicitly listed as exempt development. (which for houses it almost never is)
Extra Tips – Experience Sharing
Site Security After Demolition: Temporary fencing helps secure the site once the demolition process is complete and construction begins. A 3-month rental of at least 48 lineal metres of fencing will cost approximately $400, including delivery and setup. Please note that the fencing needs to be ordered in advance.
Stage five
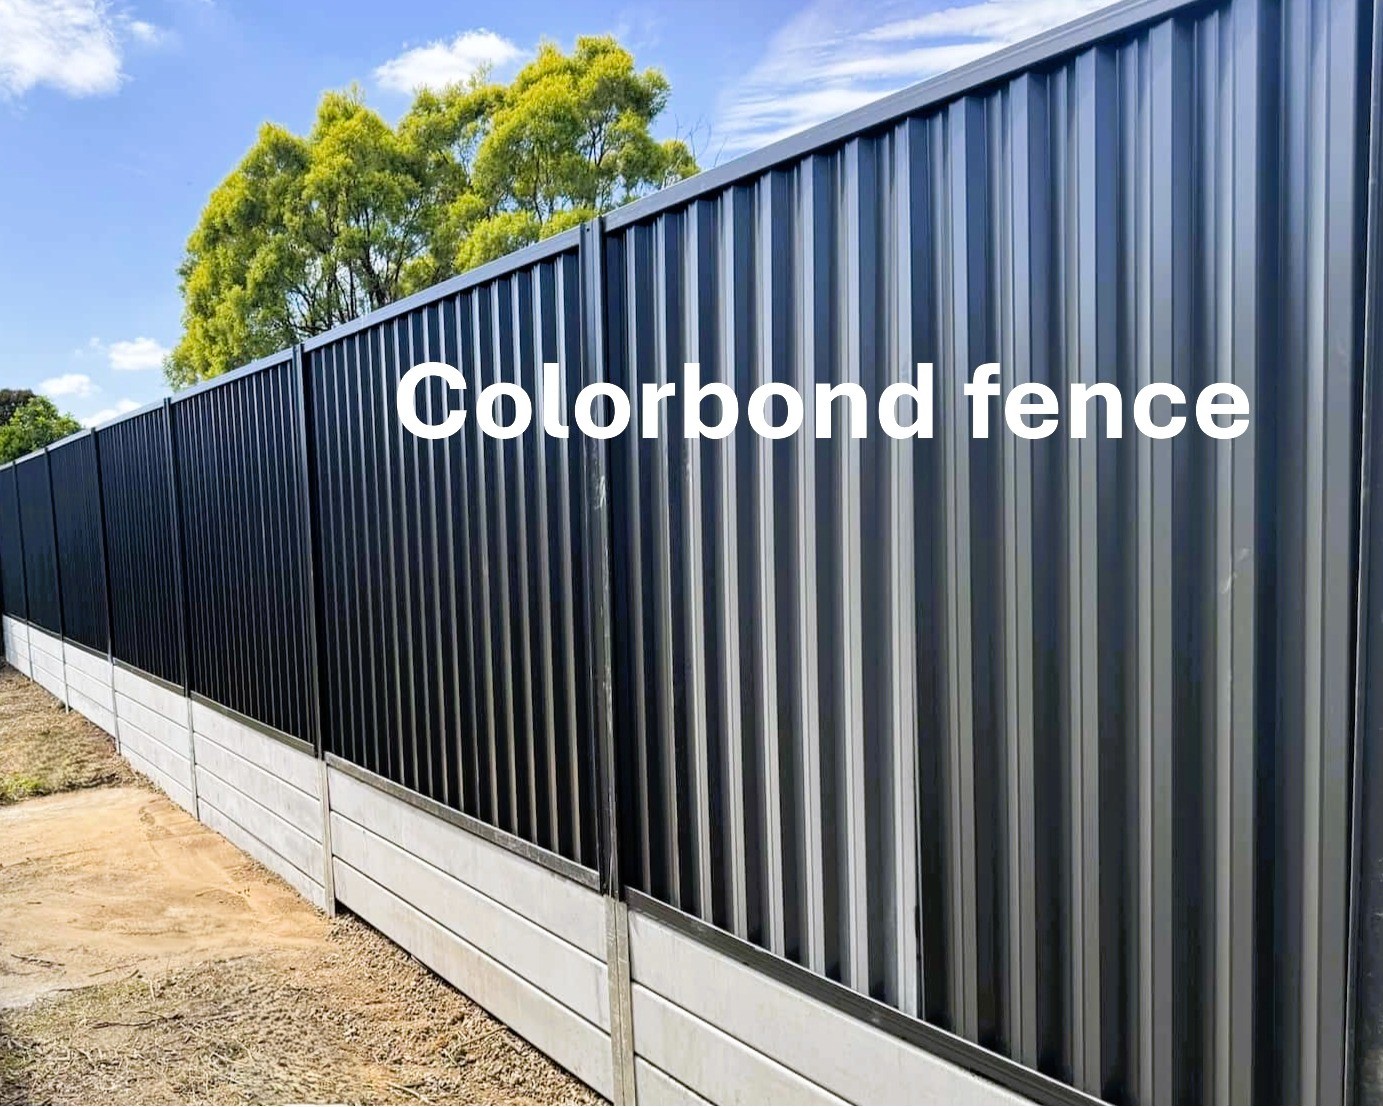
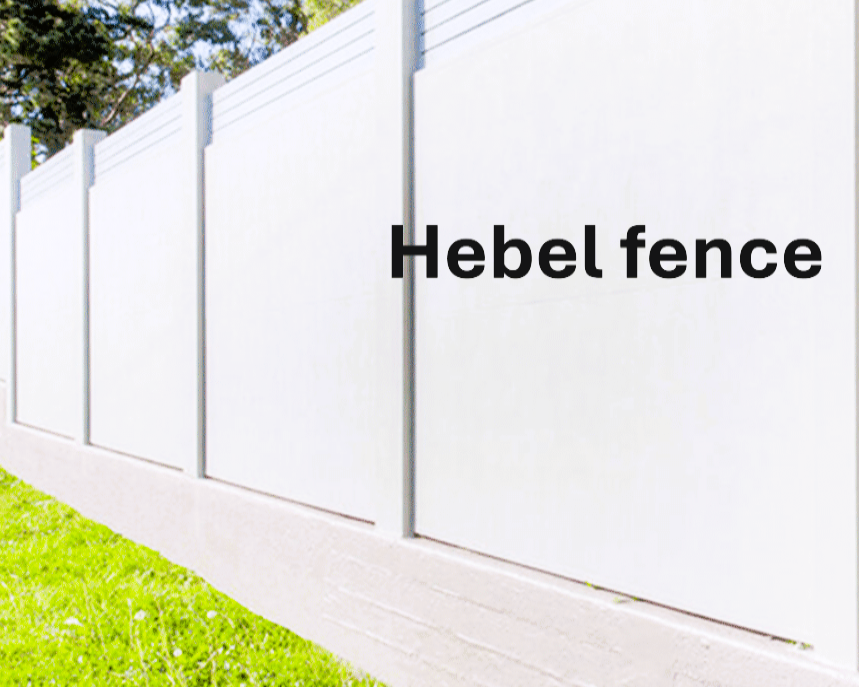
Fencing & Retaining Walls
Following the completion of demolition works, retaining walls and fences are typically installed as one of the first site preparation tasks. Retaining walls are often required at this stage to establish correct ground levels, particularly on sites involving cut-and-fill operations. Fencing also secures the cleared site from unauthorised access, theft, or vandalism while construction is pending and clearly defines property boundaries before further works commence.
The height and structural details of retaining walls must be designed and constructed in accordance with the approved engineering report to ensure stability and regulatory compliance.
Tips for Selection and Pricing:
Step 1: Search online for top manufacturers in South Australia. Reach out to them directly to request product brochures and price lists. This will provide you with a full range of material selections and estimated costs.
Step 2: Request a list of local contractors from these manufacturers. Contact the contractors in your area to discuss installation options and obtain quotes.
This is the most cost-effective approach to customise your project.

Extra Tips – Experience Sharing
Retaining wall sleepers come in various types and materials. It’s best to get information directly from manufacturers rather than third parties to ensure accurate and comprehensive details.
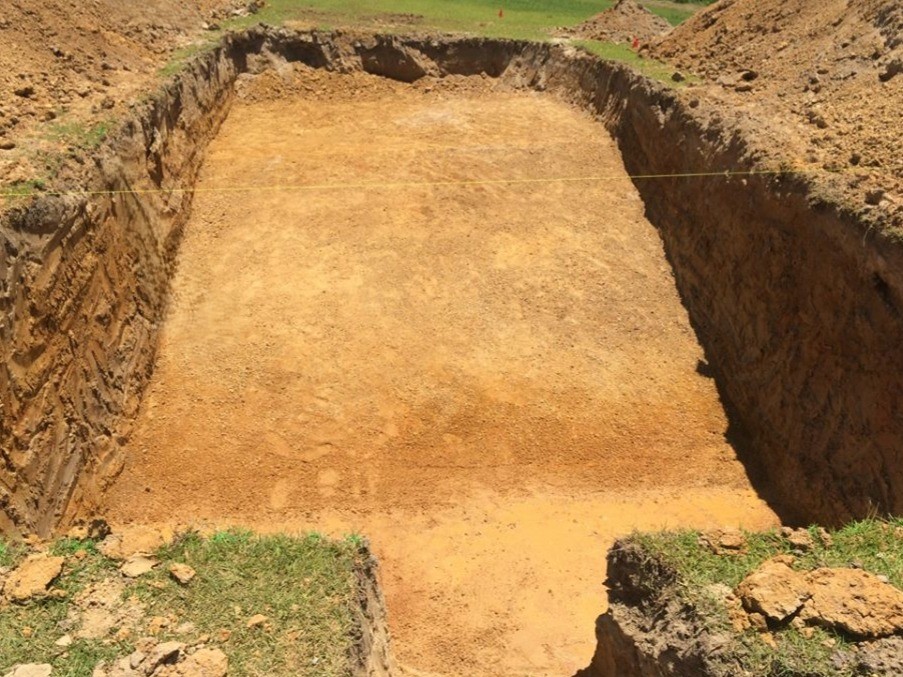
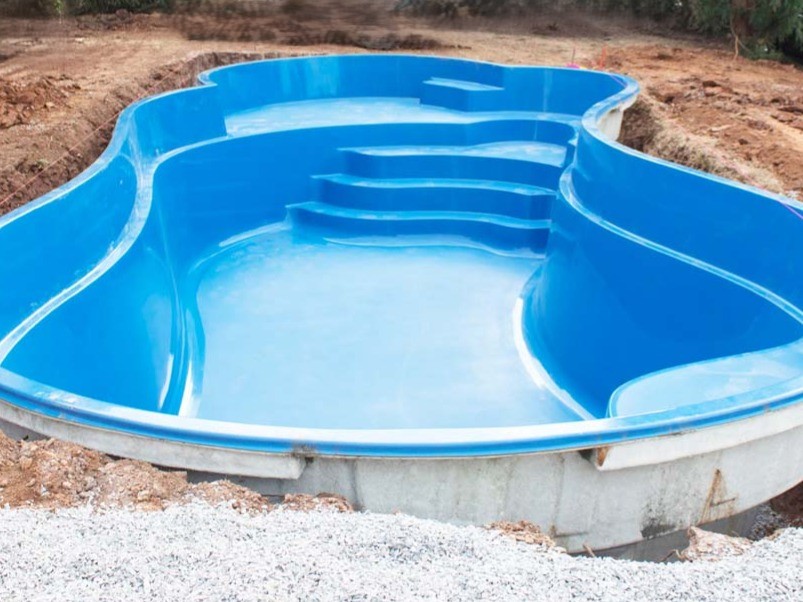
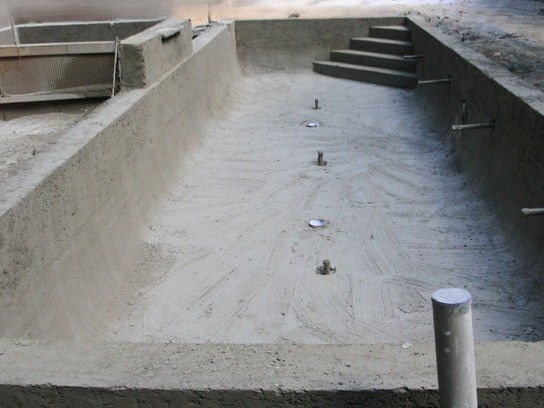
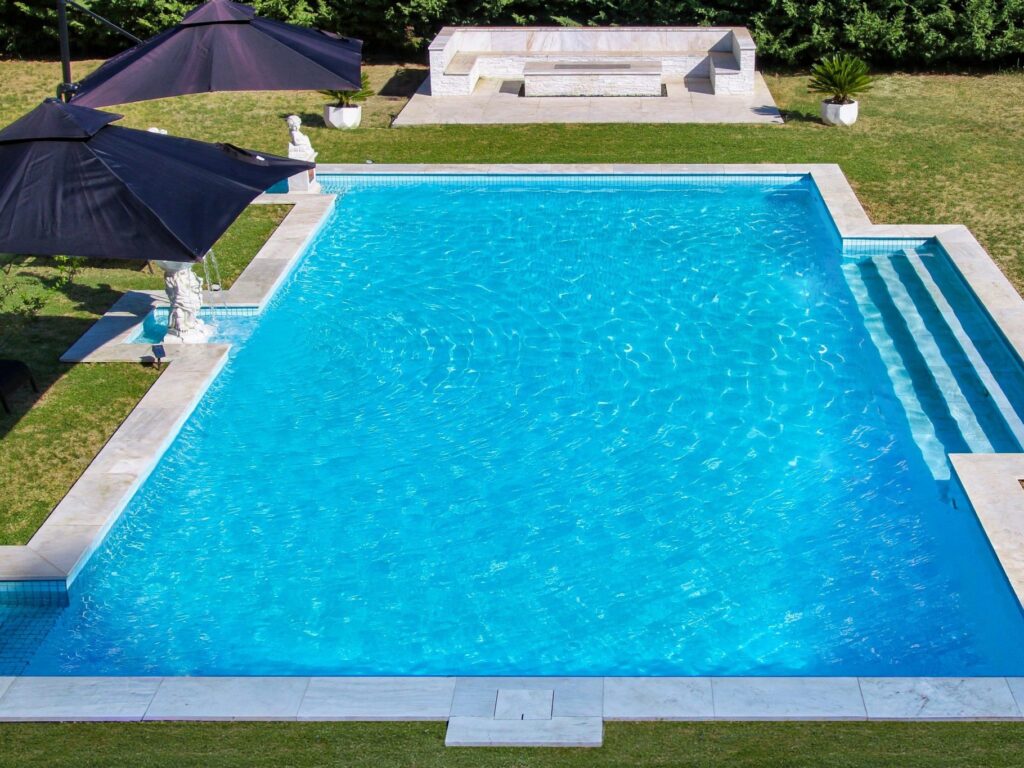
Swimming Pool (optional)
Caution: Swimming pool excavation (if applicable) should be carried out before setting and pouring the house footings, as it can impact soil compaction and ground levels, potentially affecting finished structural work.
Concrete swimming pools are built onsite, offering complete freedom in shape, size, and depth. They’re durable and ideal for custom designs or sloping blocks but cost more and take longer to construct. Fibreglass swimming pools are factory-made shells lowered into a prepared excavation. They’re quicker to install, more affordable, and easy to maintain, though available in a fixed range of shapes and sizes.
Stage six
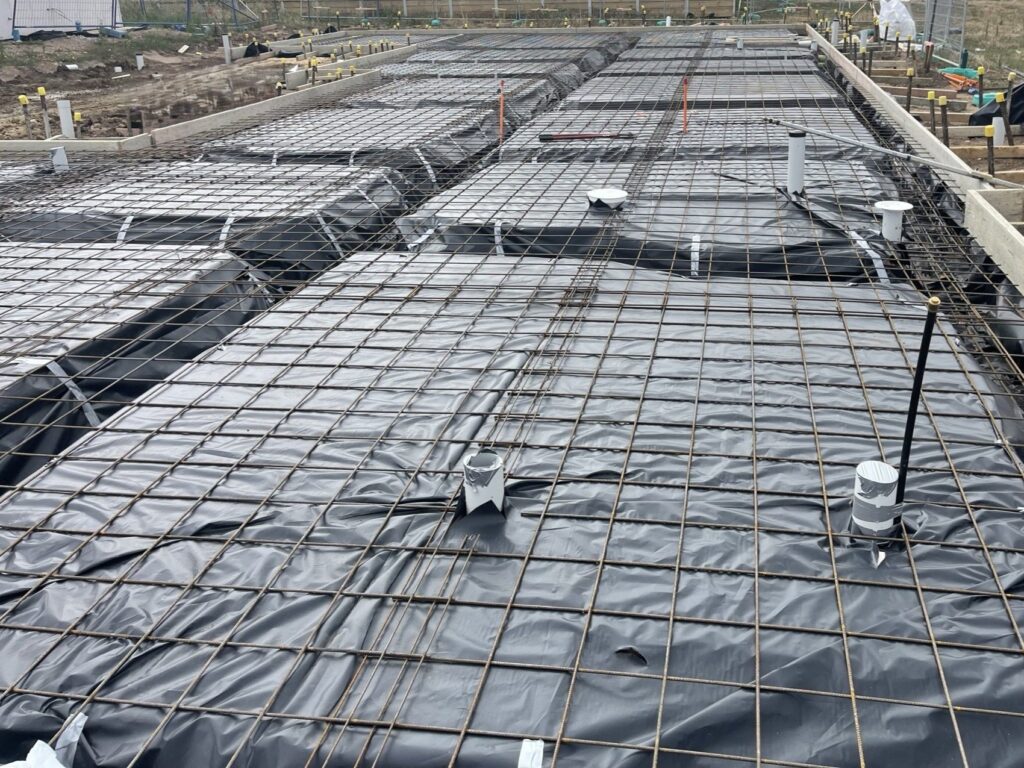
Footings & Concrete Slab
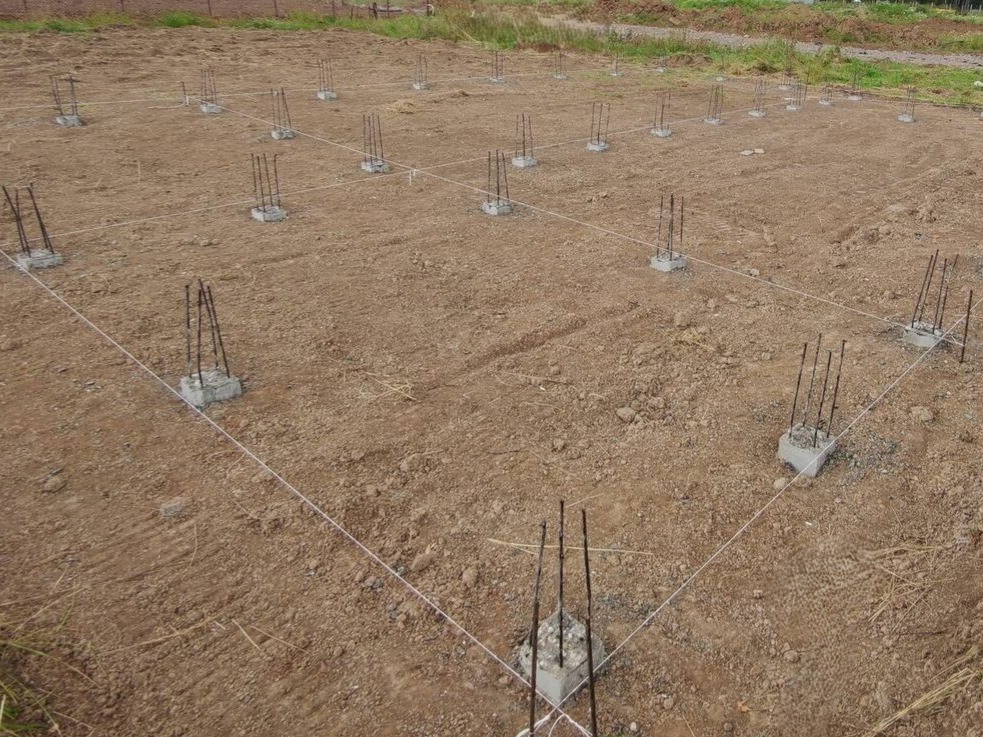
Site Preparation: Excavate, level and mark the site for footings and slab layout based on the engineering plans and surveyor’s set-out.
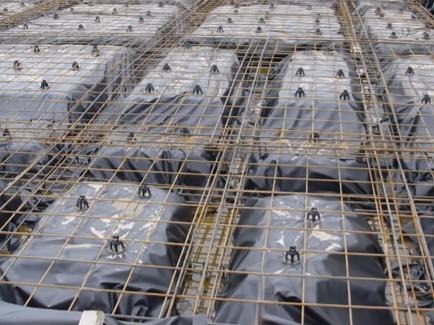
Excavation of Footings: Excavate trenches for footings and piers to the required depth and width. Remove any loose soil and debris from the excavated areas to prepare for reinforcement placement.
Steel Reinforcement: Place and securely tie steel reinforcement bars and mesh in footings and slabs, using support chairs to keep them correctly positioned.
Underground Services Installation: Install plumbing, drainage, stormwater, and electrical conduits according to approved working drawings, and test pipe alignment.
Termite and Moisture Protection: Apply termite barriers (physical or chemical) and install vapour barriers (plastic membranes).
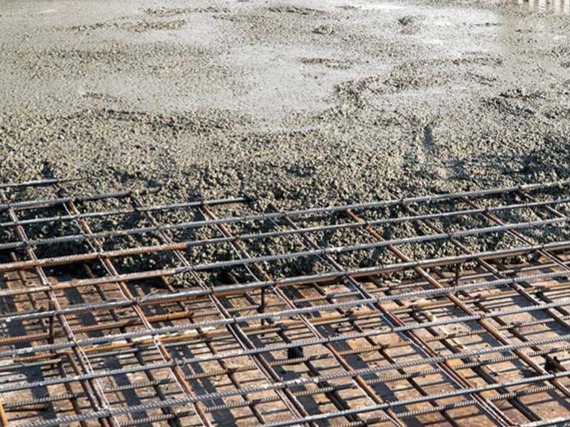
Formwork Setup: Construct level, stable, and accurately aligned formwork around the slab perimeter to shape the concrete pour.
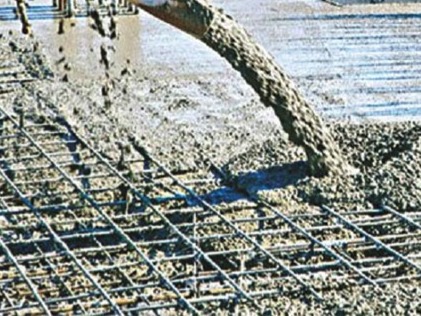
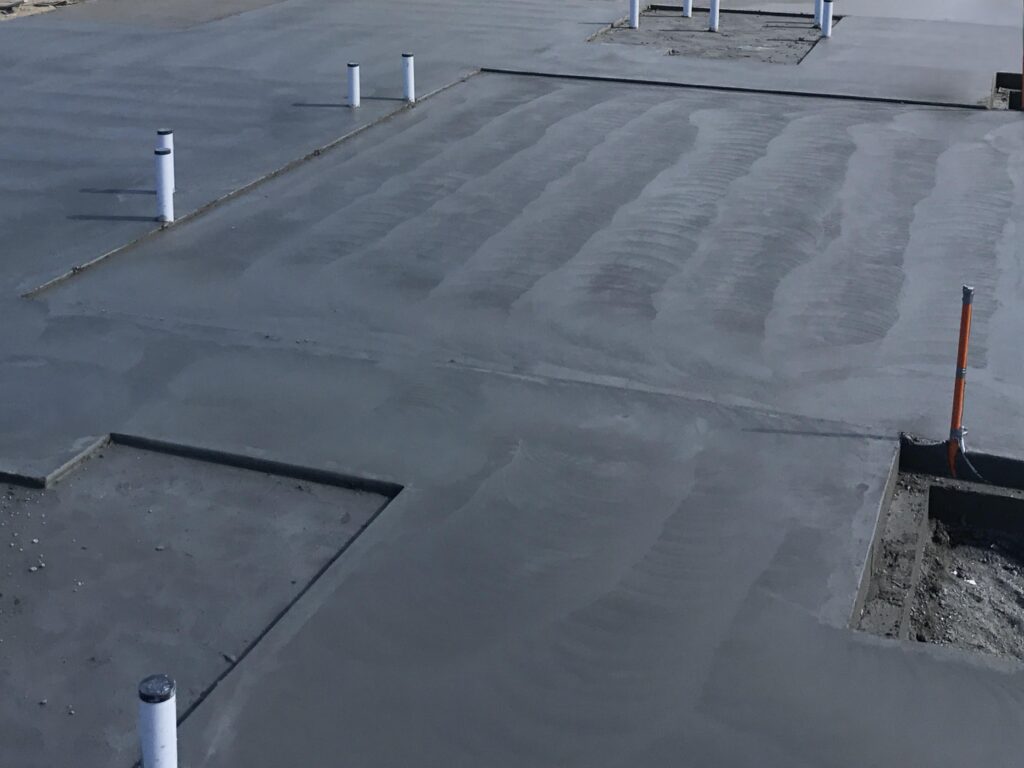
Concrete Pouring: Pour concrete into footings and slab areas in sections, using vibrators to eliminate air pockets and ensure a solid, even finish.
Surface Finishing: Level and smooth the slab surface using screeds and trowels.
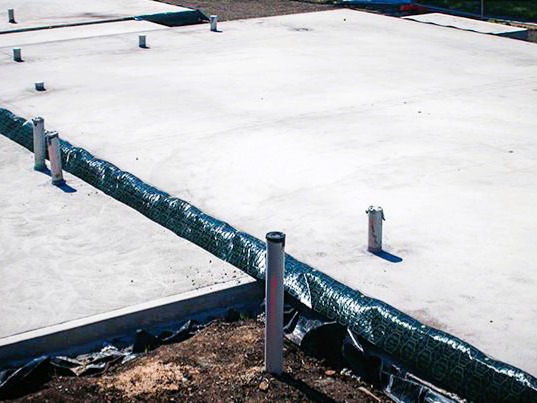
Curing the Concrete: Keep concrete moist for at least 7 days to ensure strength, using curing compounds, hessian coverings, or water sprinkling as appropriate to site conditions.
Stage seven
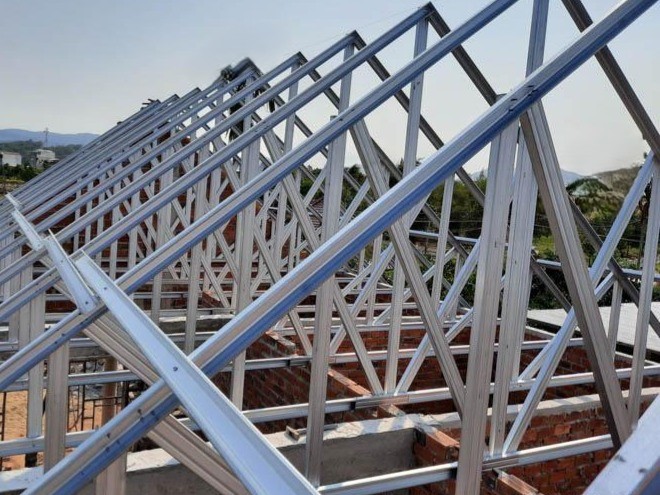
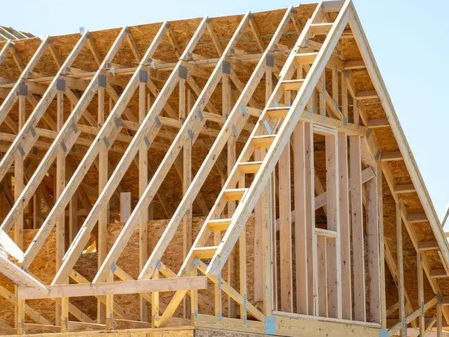
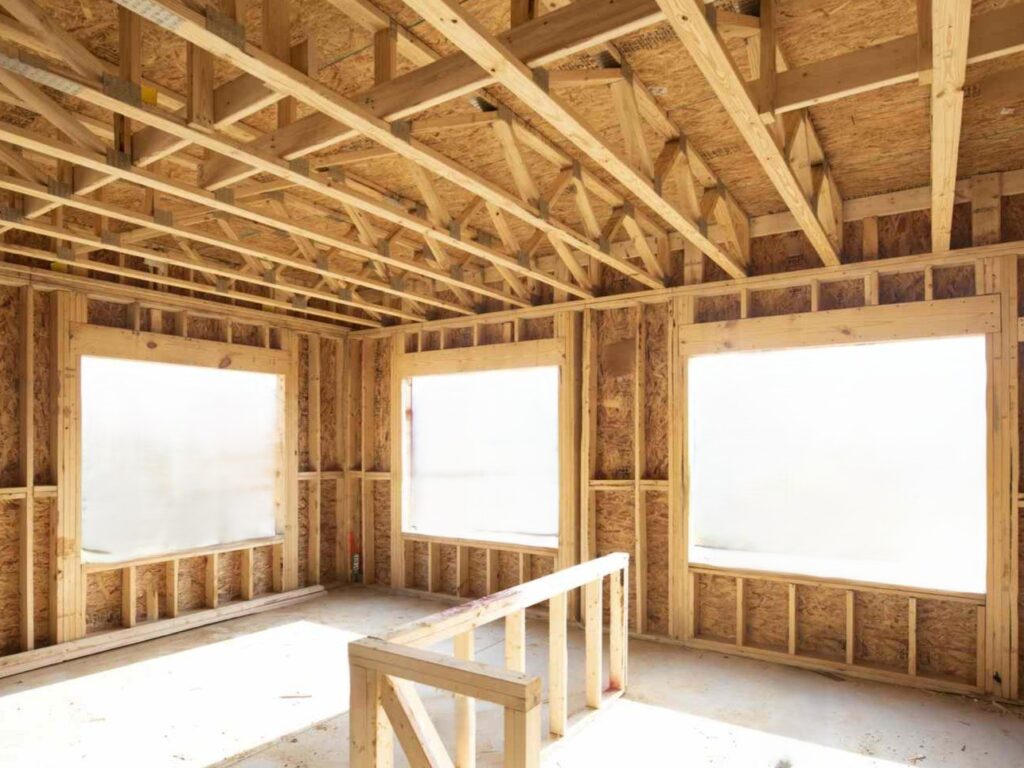
Framing
Wall Framing: Wall framing involves the precise assembly and erection of structural components—studs, plates, and headers—typically made from timber or steel. The framed walls are anchored securely to the foundation, with openings accurately prepared for doors and windows. Exterior sheathing is then applied to enhance structural integrity and provide a substrate for weatherproofing and cladding.
Roof Framing: Roof framing involves installing structural elements, such as rafters or prefabricated trusses, on top of the wall plates to form the roof framework. The components are accurately positioned, securely fastened, and braced to ensure stability and proper load distribution. Ceiling joists are installed to support the ceiling, followed by roof sheathing, which provides a solid base for roofing materials. Finally, a waterproof underlay is applied before the final roof covering is installed.
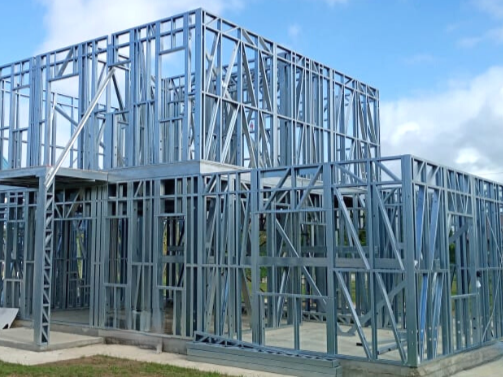
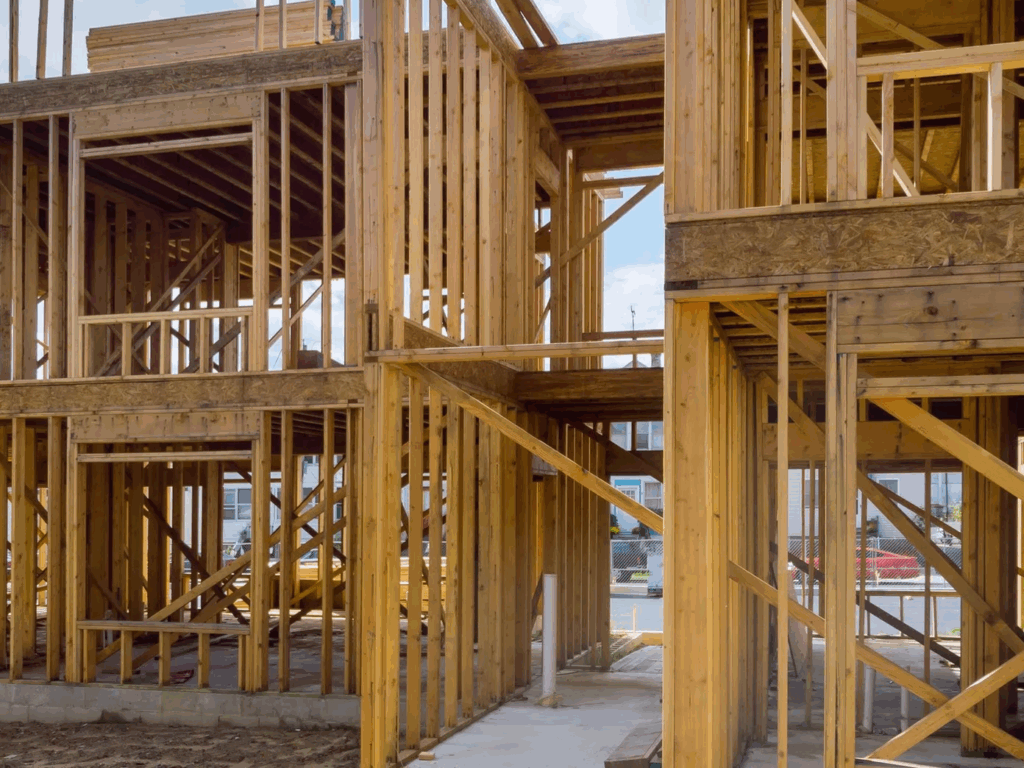
Warning: Timber frames are vulnerable to termite attacks. Without proper termite treatment and ongoing inspections, structural damage can occur, leading to costly repairs and safety risks. Always ensure certified termite protection measures are applied before and after construction.
Stage eight
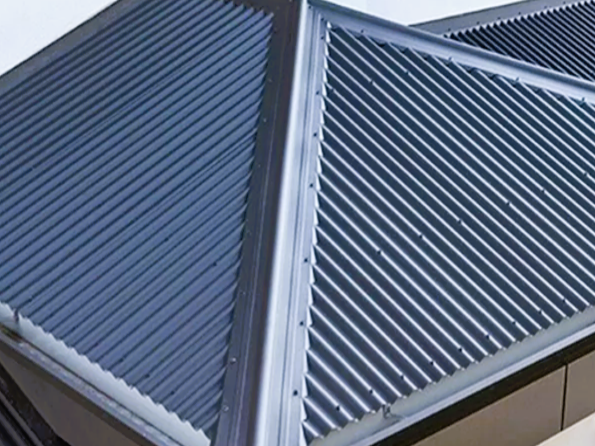
Roof Completion
(1) Install flashing around roof penetrations (chimneys, vents, skylights) and at roof edges to prevent water leaks.
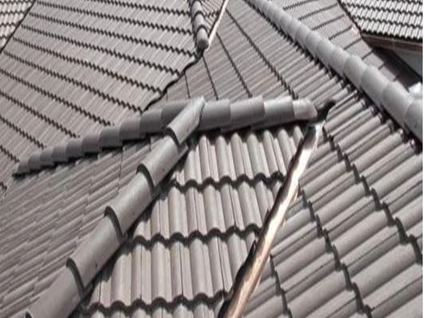
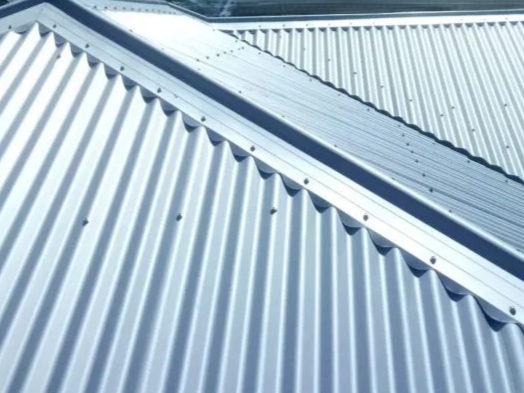
(2) Fix the final roofing material such as colorbond steel sheets, terracotta tiles, concrete tiles or Zincalume metal roofing.
Colorbond and Zincalume are more often used in modern and contemporary-style homes.
(3) Install ridge caps and hips to seal the roof’s highest points and joints.
(4) Fit gutters and downpipes to manage rainwater drainage away from the building.

Stage Nine
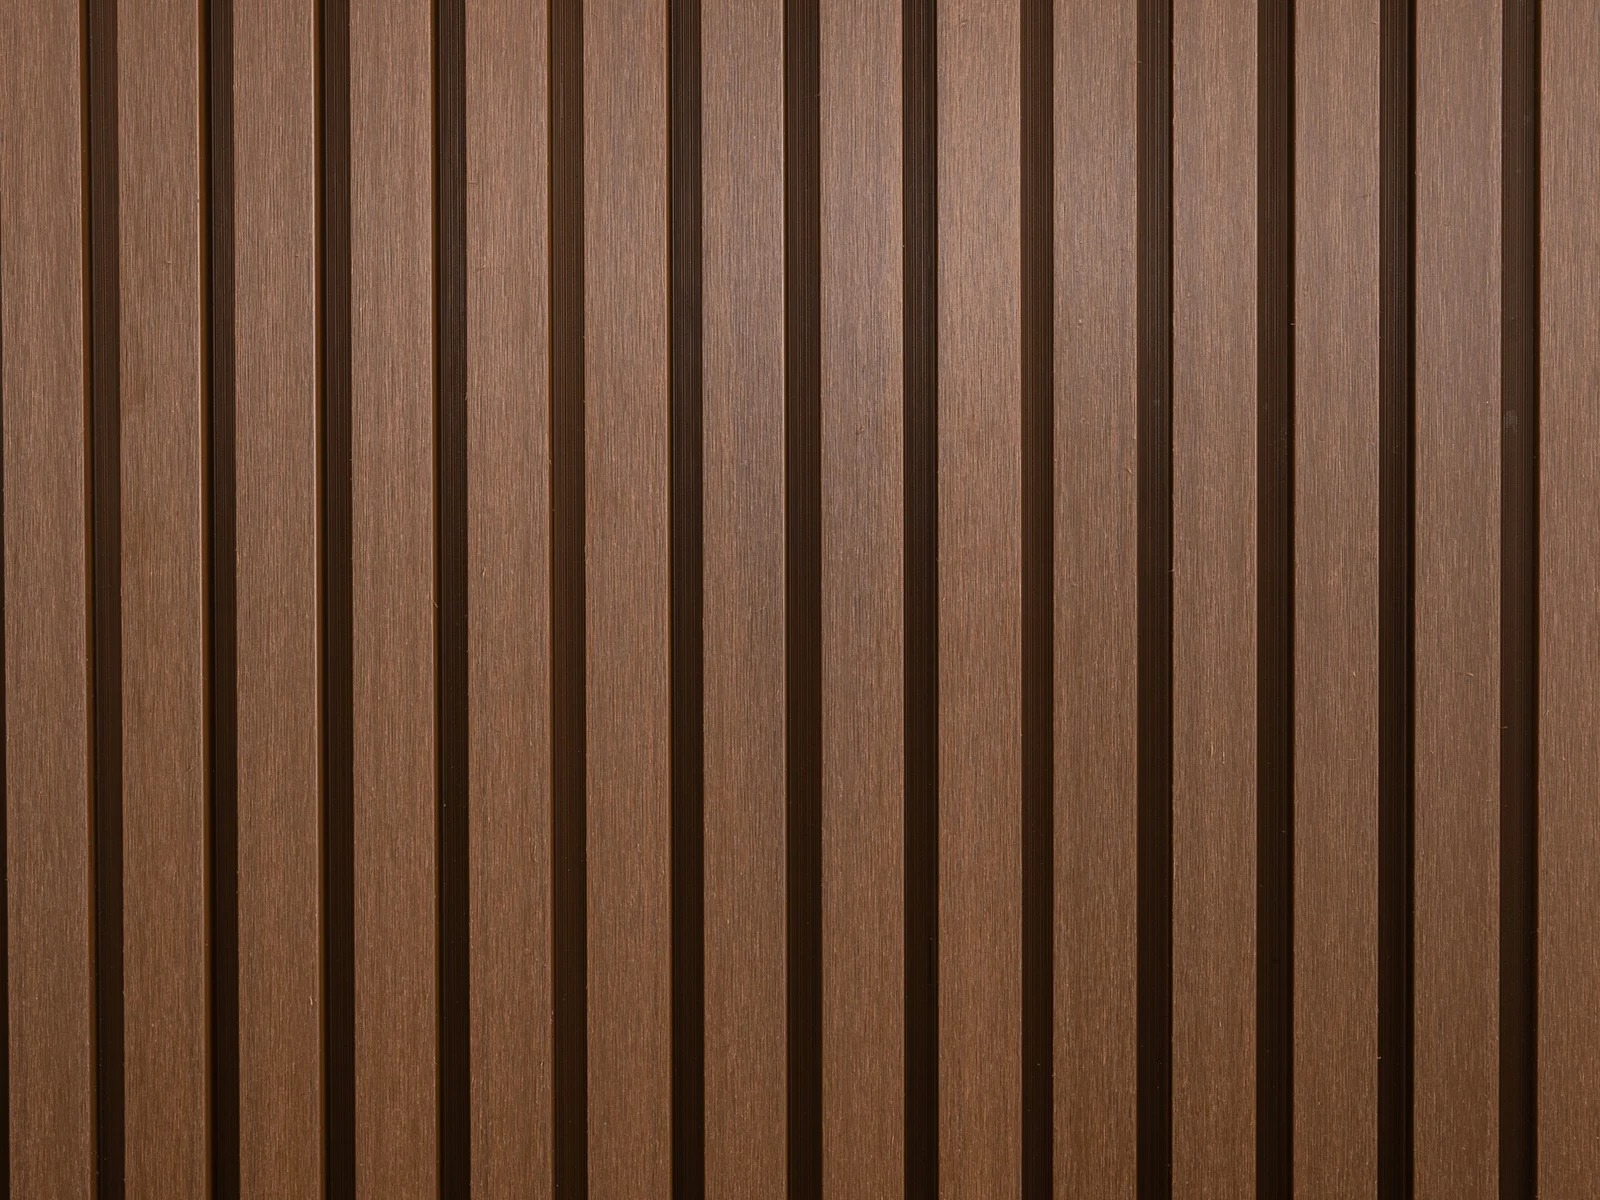
External Cladding
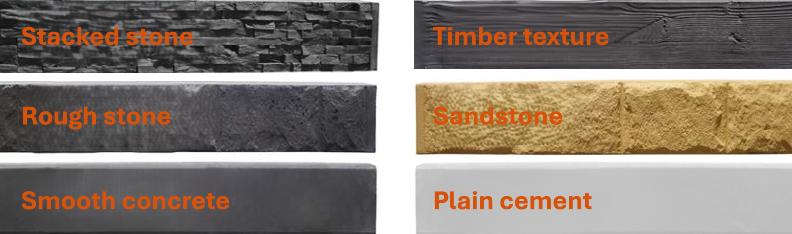
After framing and sheathing, the external cladding is installed to protect the building from weather and give it a finished look. Materials like timber, brick, Hebel, fiber cement or aluminium are fixed with flashing and ventilation to keep moisture out and ensure durability.
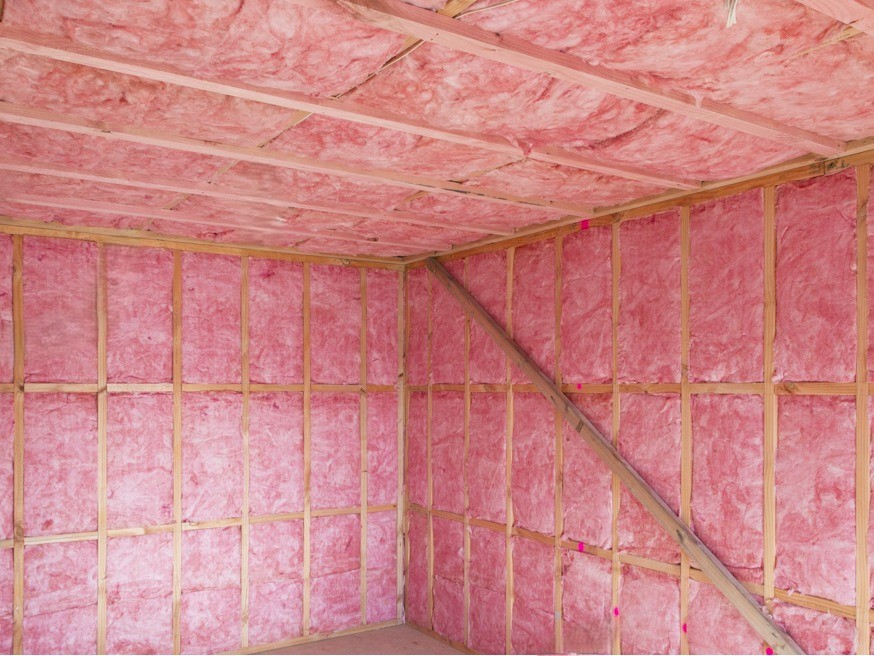
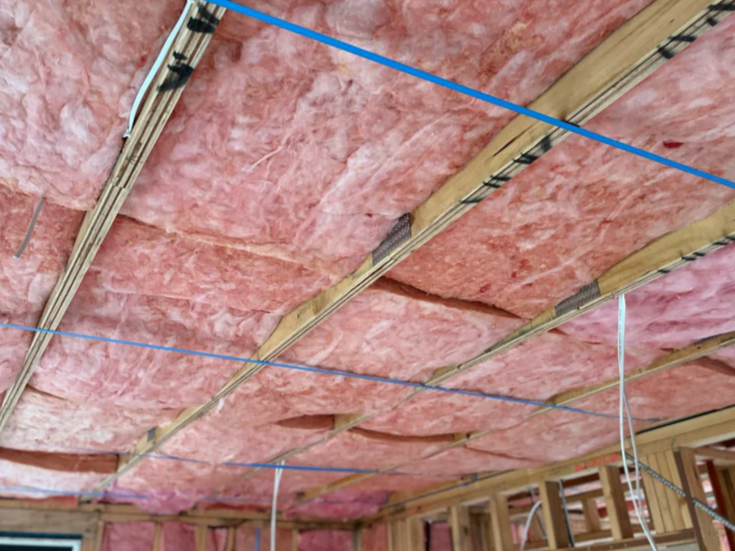
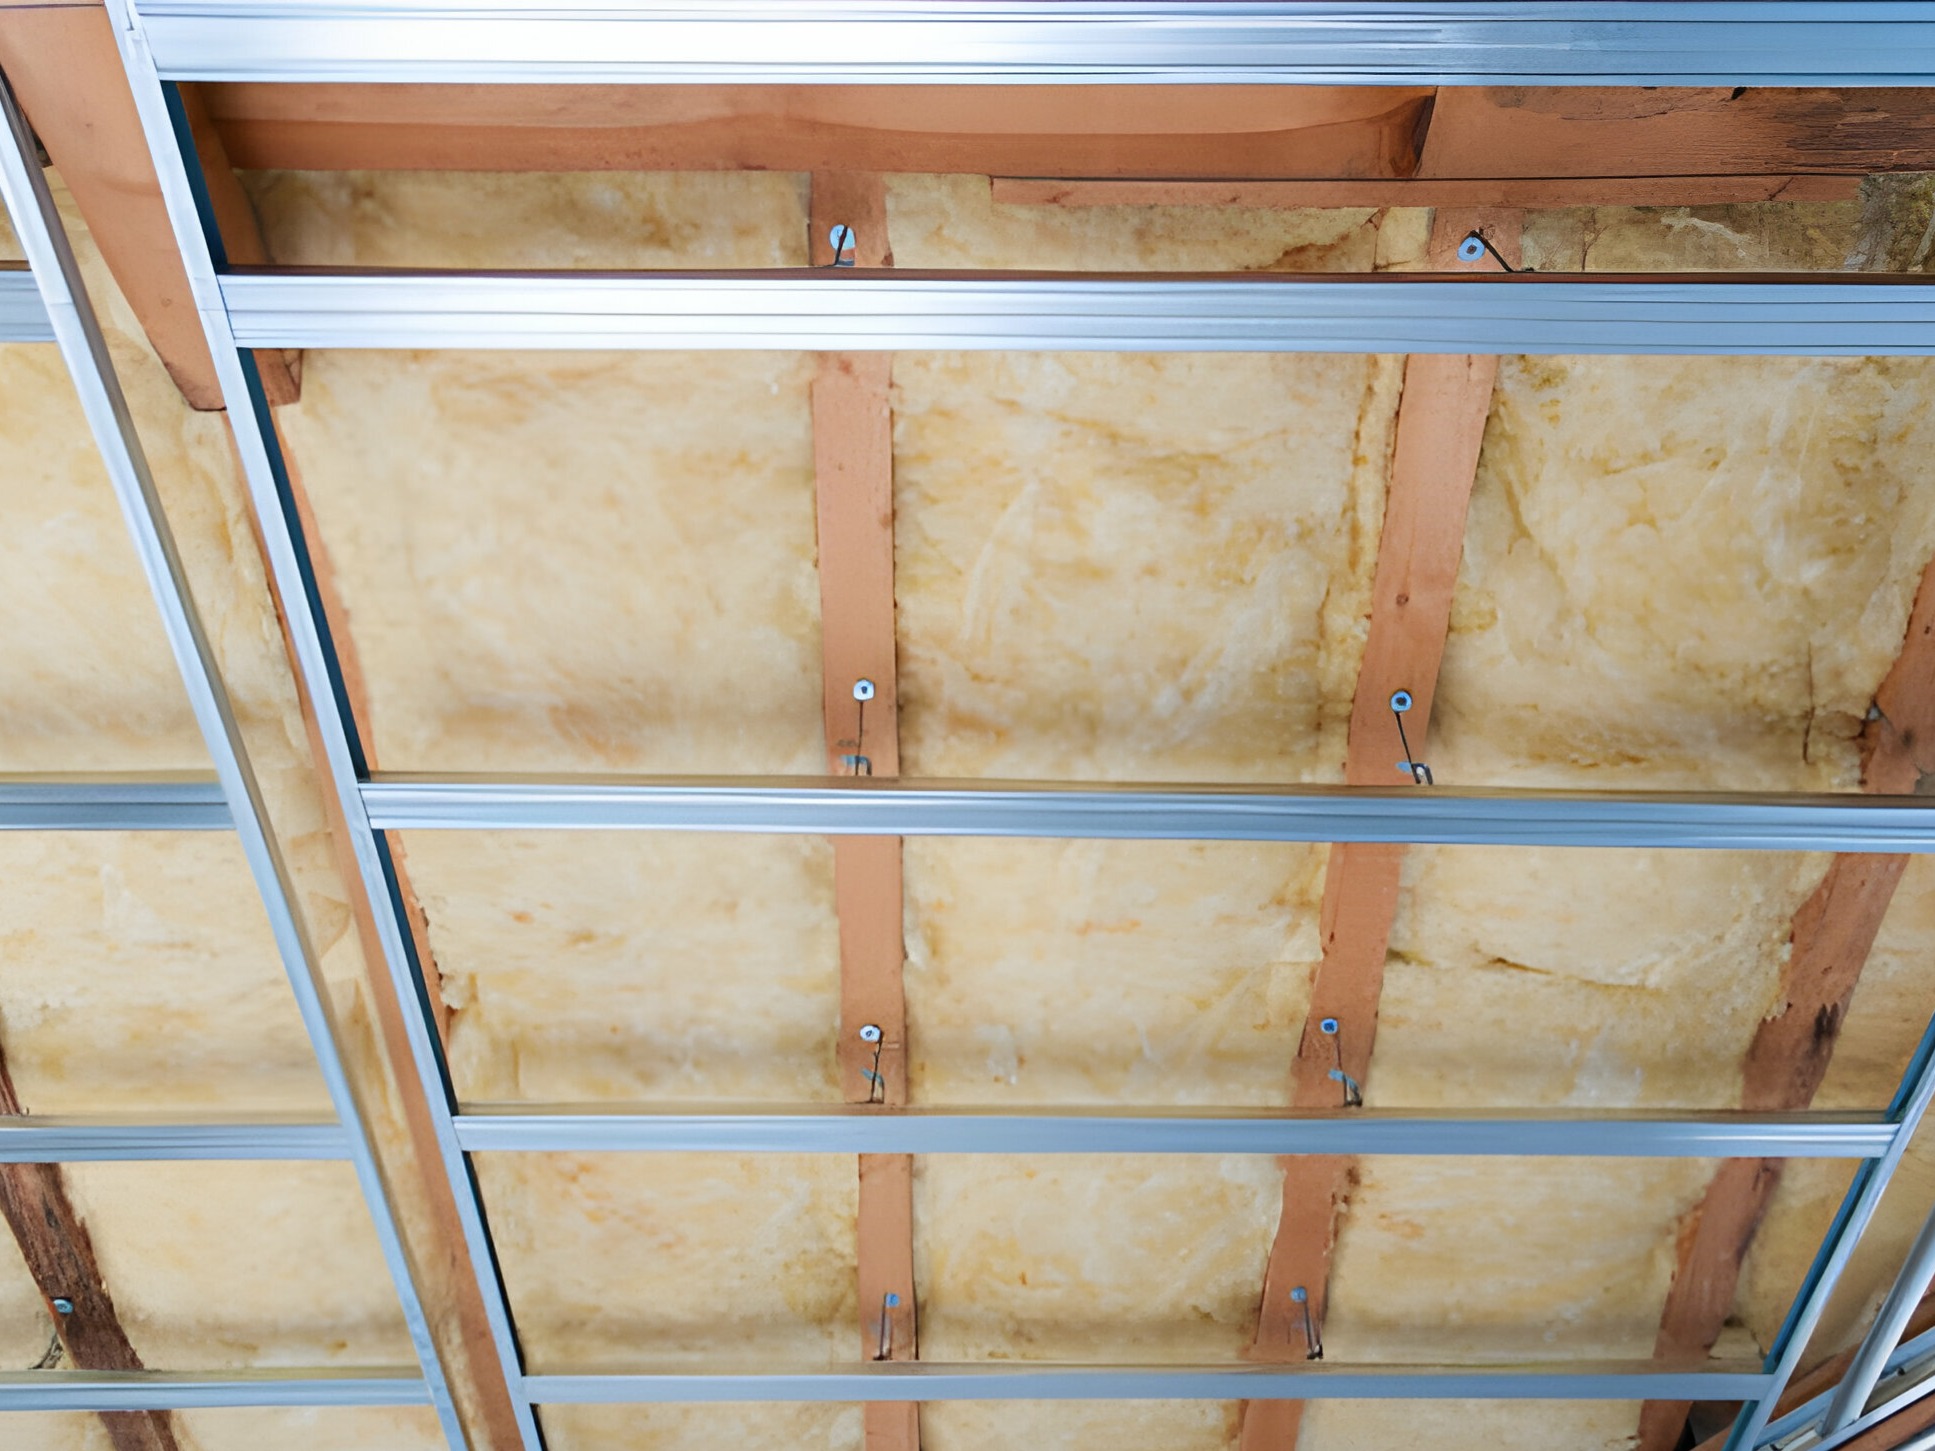
Insulation: Bulk insulation batts (glasswool or polyester) are typically fitted into wall cavities prior to external cladding to provide thermal and acoustic performance. External cladding is then installed over the framing, covering and protecting the insulation.
Install Flashing: Around windows, doors, and wall junctions to prevent water ingress.
Sealants and Joint Treatments: Apply appropriate waterproof sealants at joints, corners, and penetrations.
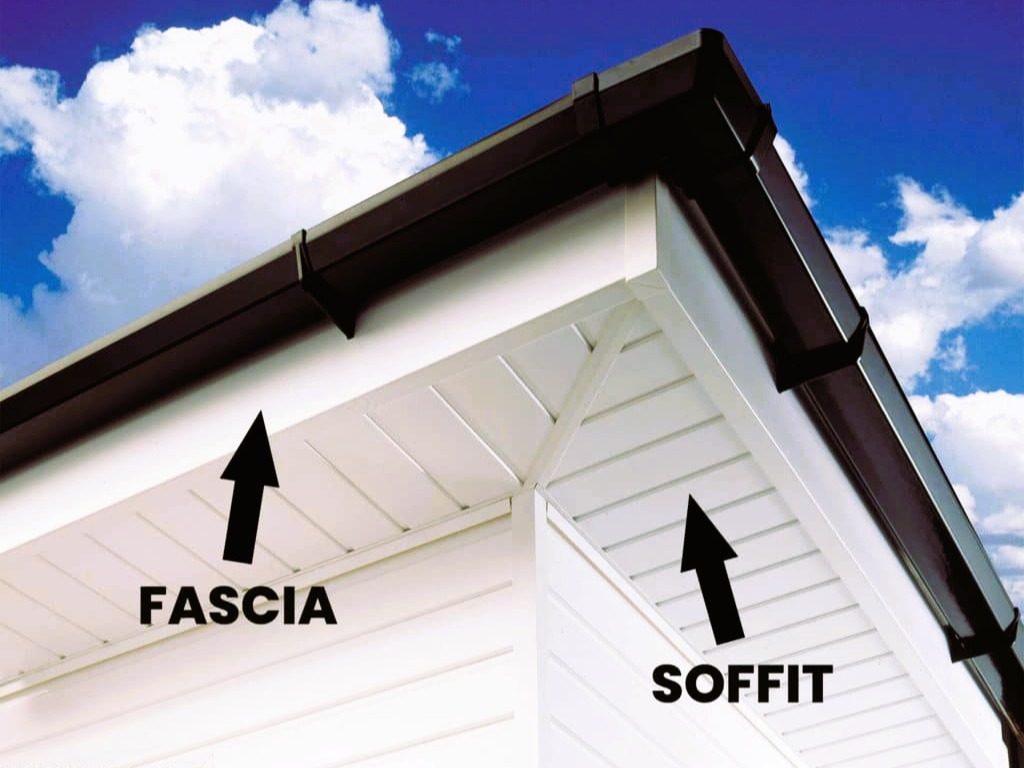
Install Eaves, Fascia and Soffits: These complete the roof edge details and protect the underside of the roof overhang.
Waterproofing Membranes: Behind certain cladding systems like Hebel or fiber cement for added moisture protection.
Final External Fixings: Install corner trims, capping, and external accessories to finish off edges neatly.


Stage TEN
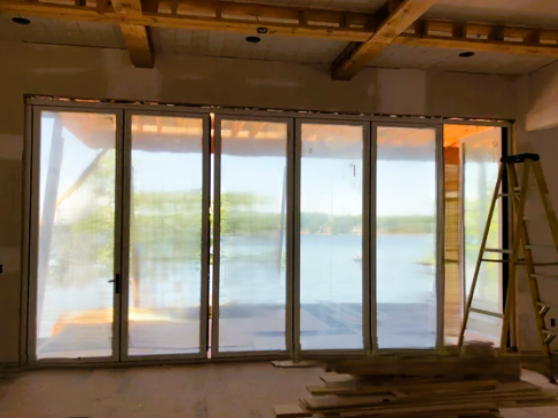
Windows & External Doors
Windows: Install window frames and fit glazing units.
External Doors: Install entry doors, sliding doors, and any other external access points.
Apply necessary waterproofing measures.
Stage eleven
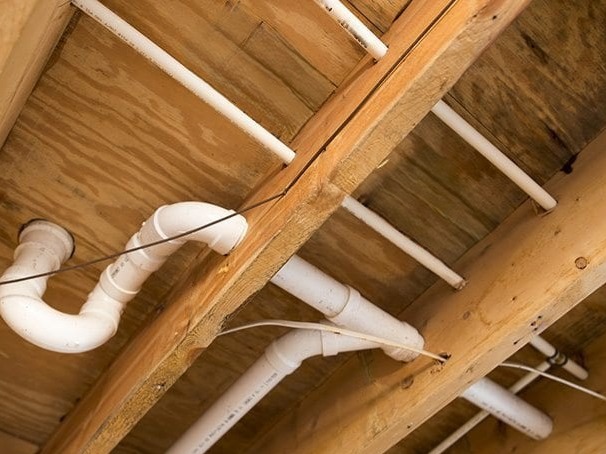
Internal Services Rough-In
Electrical: Run wiring for power points, lighting, and other electrical systems.
Plumbing: Lay pipes for water supply, drainage, and stormwater.
HVAC: Install ductwork and provisions for heating and cooling systems, with options like evaporative cooling or ducted reverse-cycle systems. (HAVC-Heating, Ventilation and Air Conditioning)

Stage twelve
Internal Lining
Ensure bulk insulation, including ceiling insulation, is properly installed prior to internal lining.
Mark Service Points: Mark locations for electrical outlets, switches, pipes, and vents.
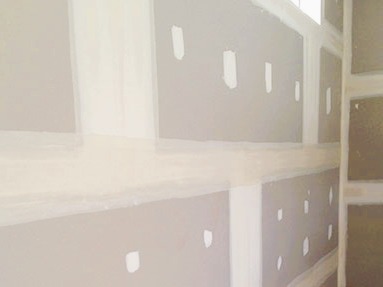
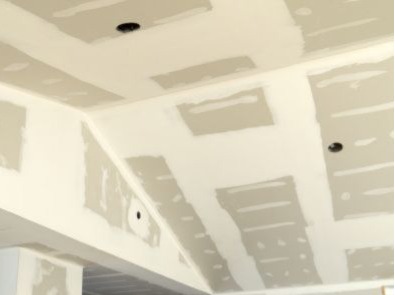
Fix Plasterboard (Gyprock): Install plasterboard sheets to walls and ceilings.
Tape and Set Joints: Apply joint tape and setting compound to sheet joins and screw points.
Sealants and Joint Treatments: Apply appropriate waterproof sealants at joints, corners, and penetrations.
Sand and Finish: Once dry, sand joints smooth for a seamless surface.
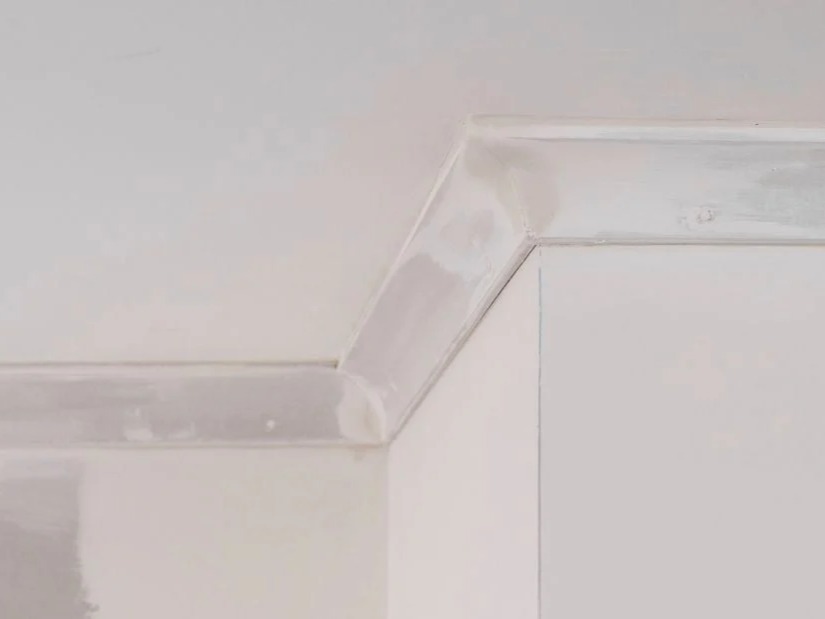
Install Cornices: Attach decorative cornices or create a square-set edge where walls meet ceilings.

Stage Thirteen
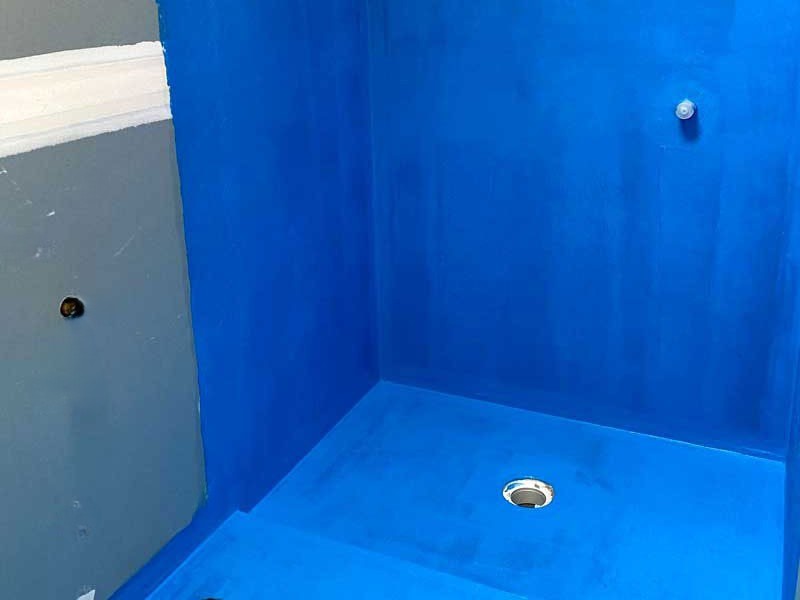
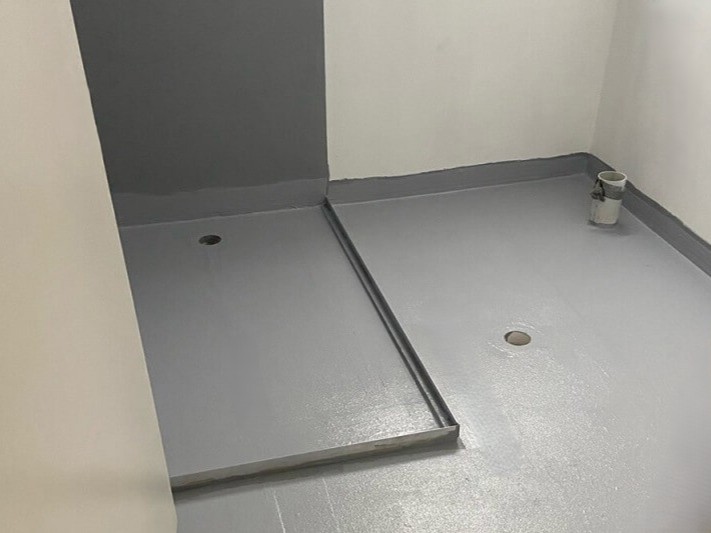
Waterproofing & Tiling Preparation
Waterproofing: Apply membranes to wet areas like bathrooms, laundries, and kitchens.
Surface preparation: Ensure surfaces are ready for tiling.
Stage FOURTEEN
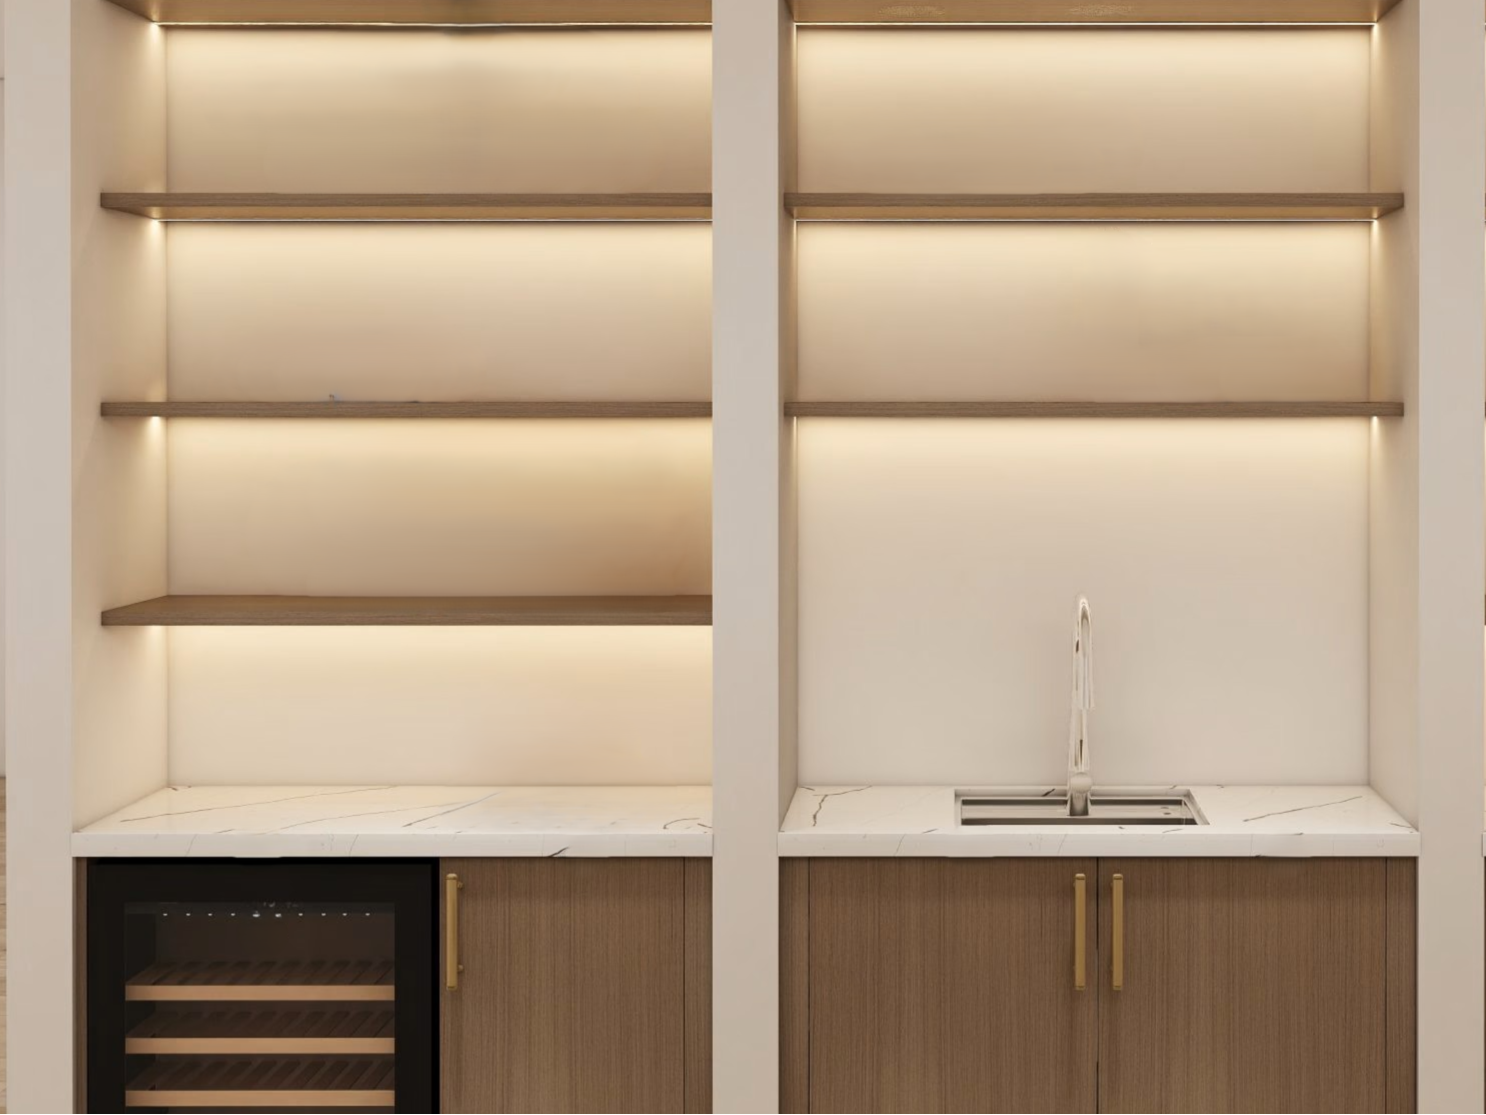
Joinery & Cabinet
Cabinetry: Install kitchen, bathroom, and laundry cabinets.
Wardrobes: Fit built-in wardrobes and storage units.
Upgrading built-in joinery and cabinetry can be costly, especially with custom designs and premium finishes.
Stage fifteen
Tiling & Floor Finishes
Tiling: Lay floor and wall tiles in wet areas and other specified areas.
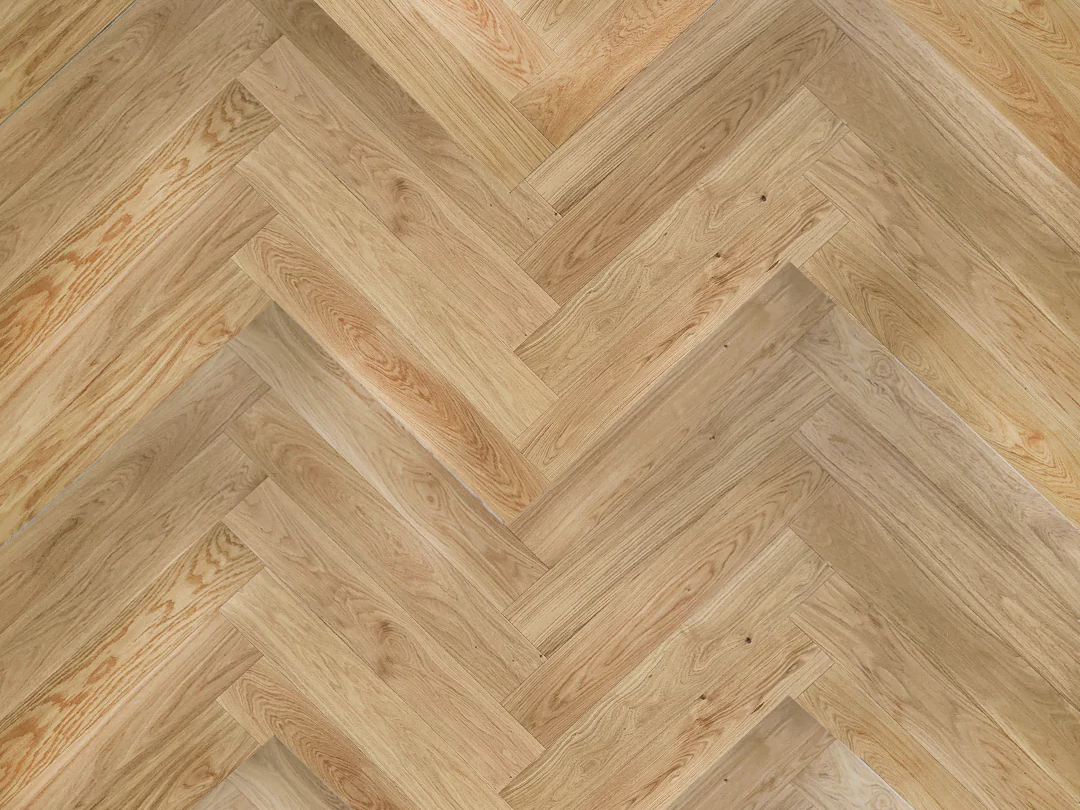
Flooring: Install selected floor materials, such as timber, vinyl and carpet, across designated areas.
Herringbone flooring is a popular choice for adding elegance and character to both modern and classic interiors.

Stage sixteen
Internal Fit-Out & Painting
Electrical: Install switches, power points, light fixtures and appliances.
Gas: Install gas lines and connect appliances such as cooktops, heaters and hot water systems.
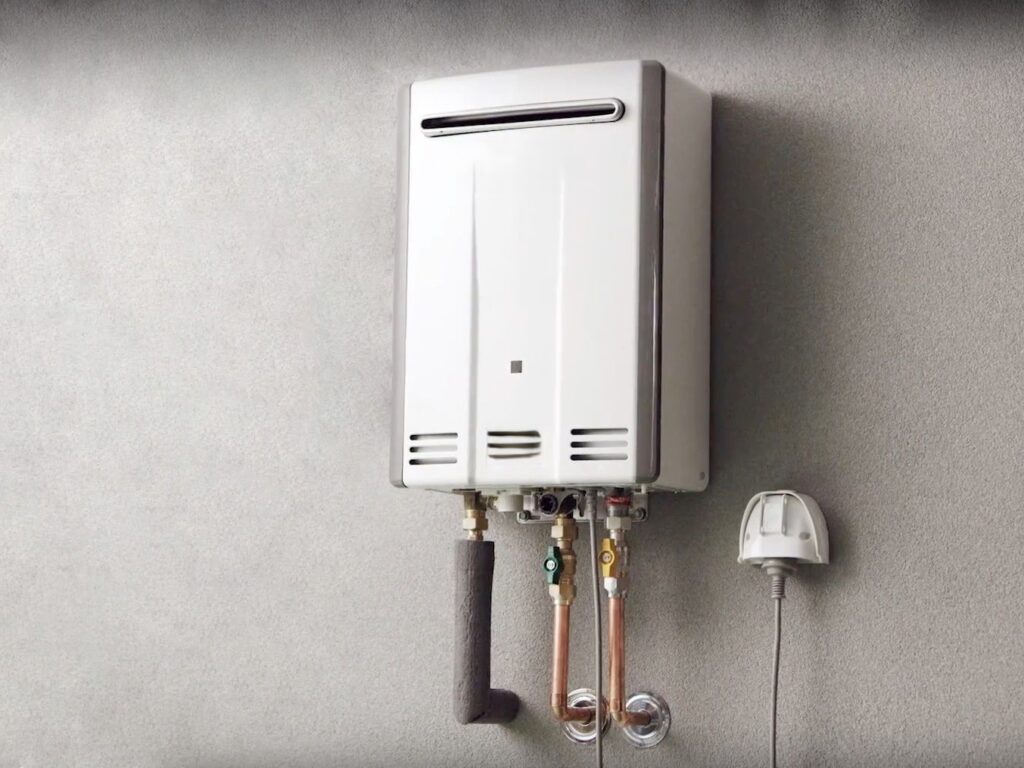
Plumbing: Fit taps, showerheads, toilets, basins and instantaneous hot water systems.
Bathroom: Install vanities, shower screens, bathtubs, mirrors and accessories.
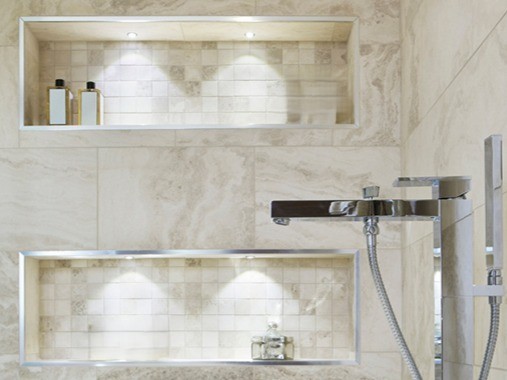
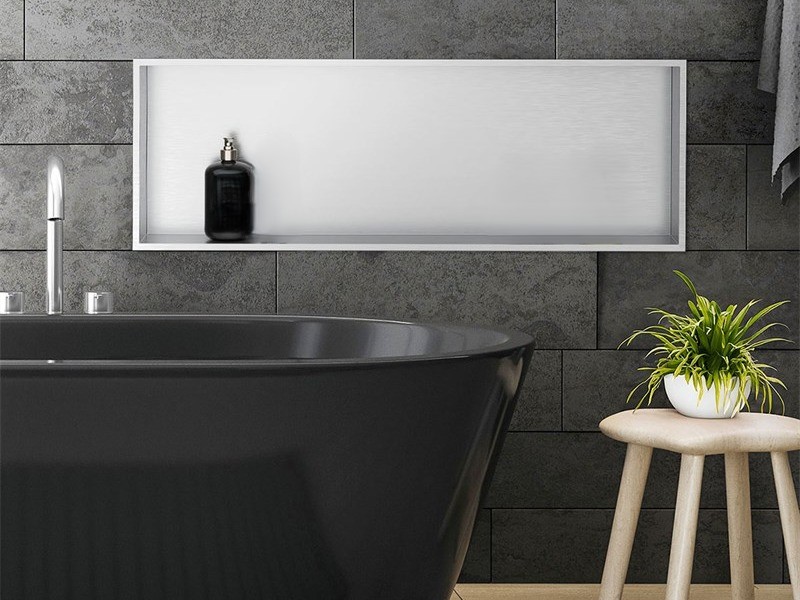
A bathroom niche adds both function and elegance. It’s a simple feature that makes a big impact.
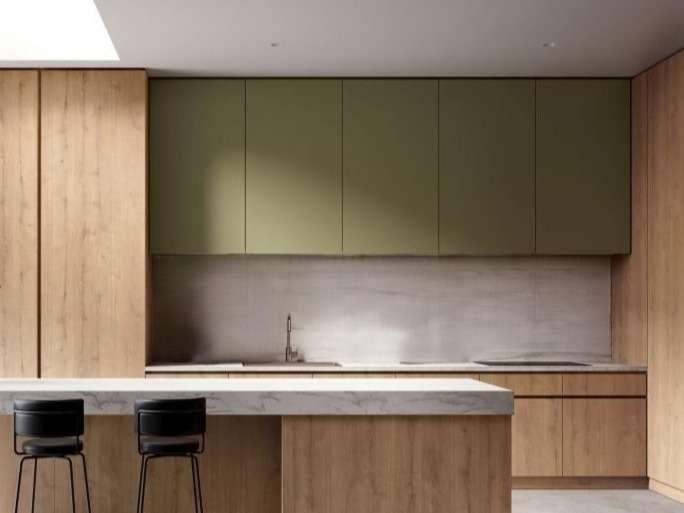
Kitchen: Install cabinetry, benchtops, range hood, sinks, appliances and fixtures.
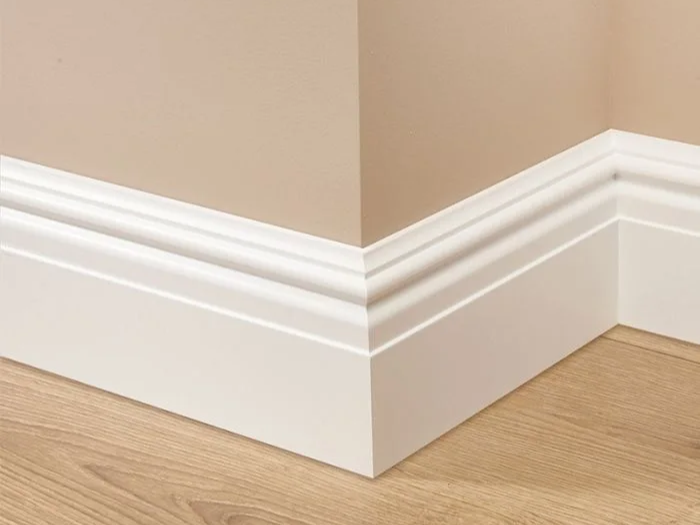
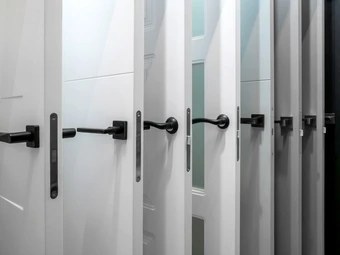
Carpentry: Hang internal doors and fit door hardware, skirting boards and architraves.
Painting: Apply base and top coats to internal walls, ceilings and decorative trims.

Stage seventeen
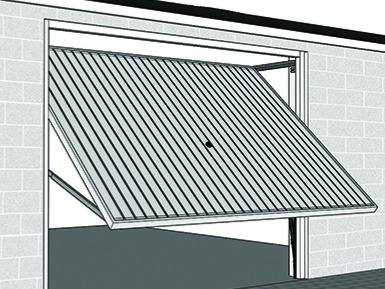
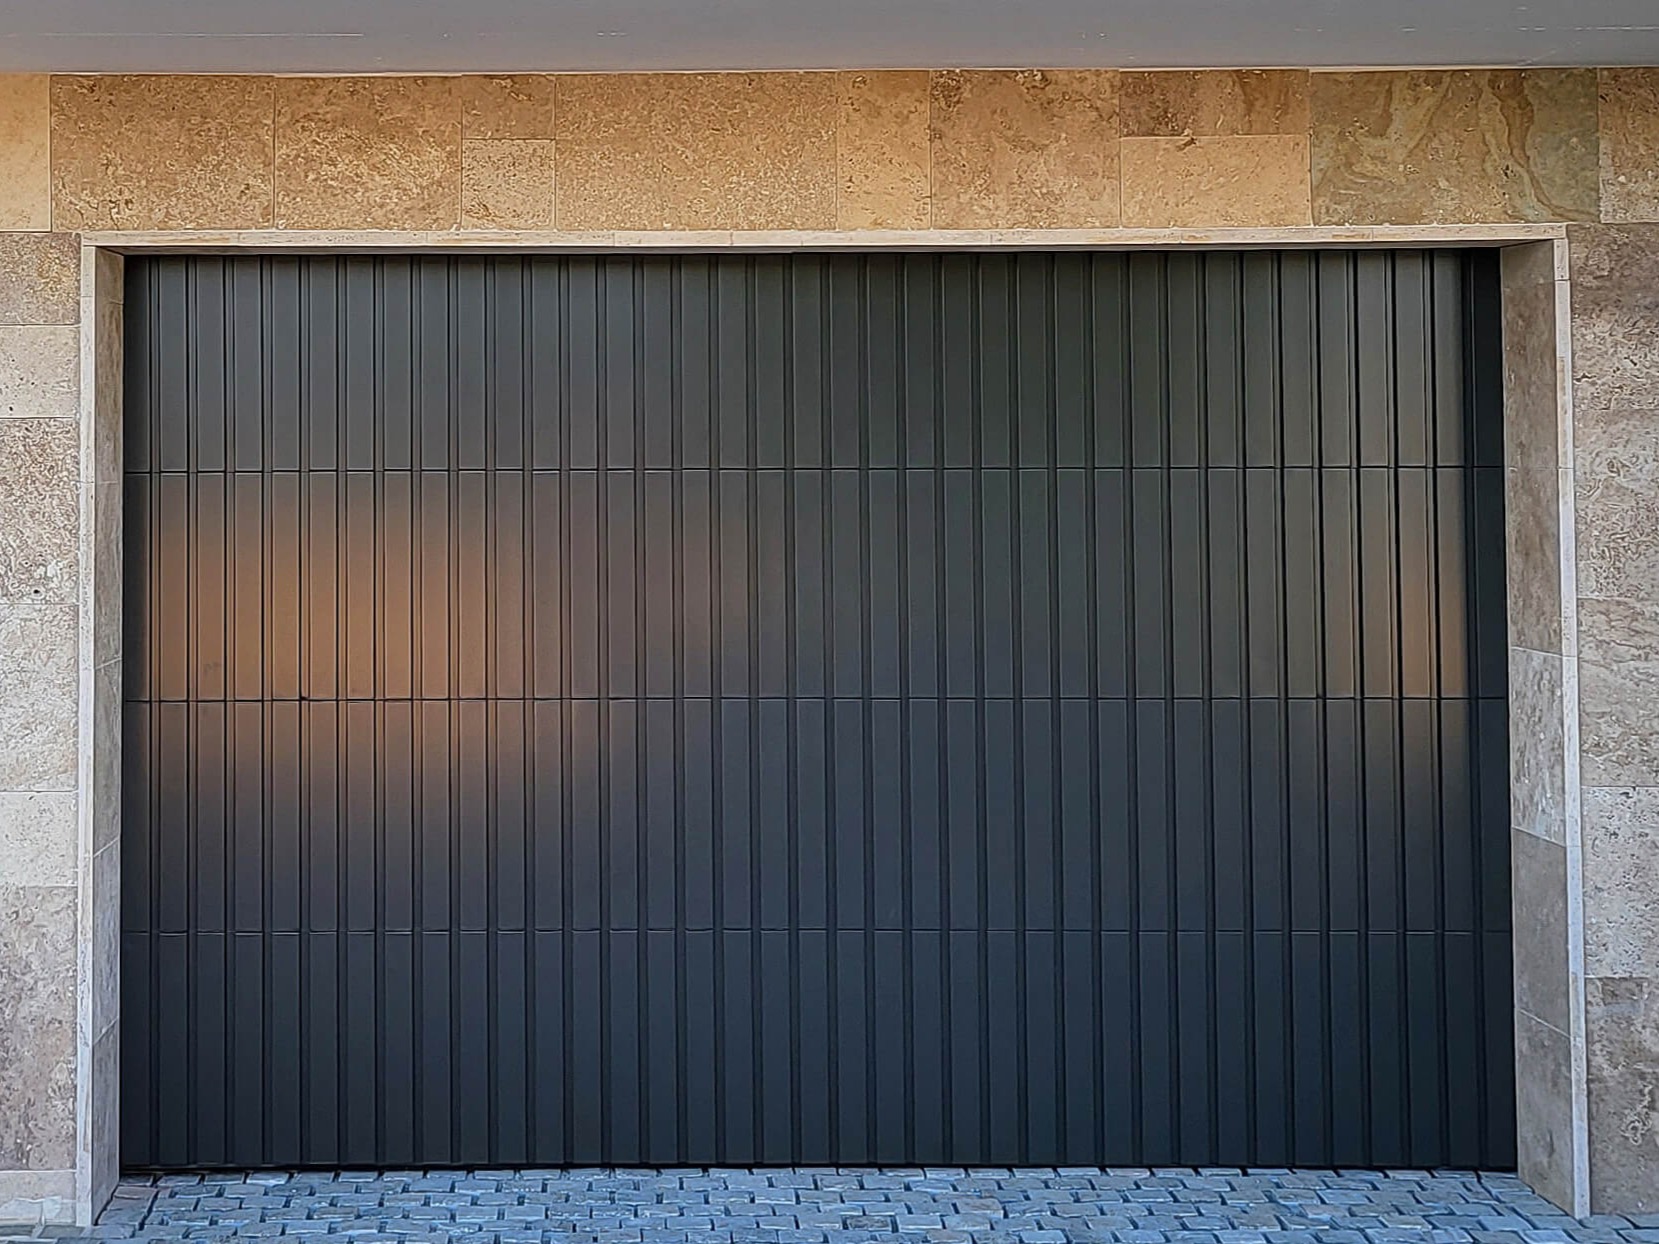
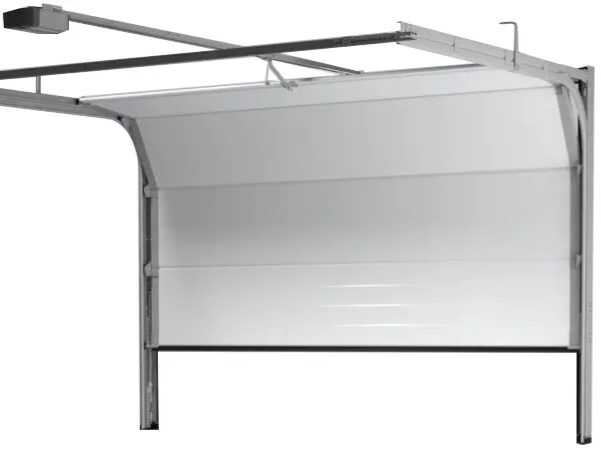
Garage
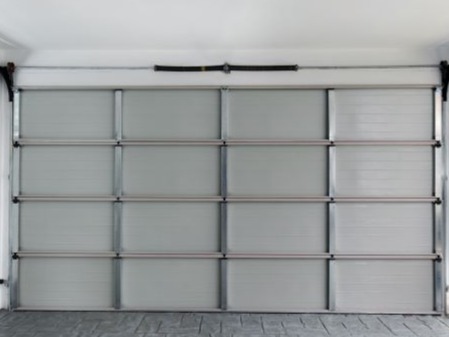
Garage Door:
(1) Install Door Opening Frame
(2) Install Door Tracks & Mechanism
(3) Fit the Garage Door
(4) Install Motor & Opener
Popular Types: Sectional garage doors and tilt garage doors.
Popular Materials: Colorbond, Timber and Aluminium.
Aluminium garage doors with a timber-look finish are the most popular choice for modern properties because of their stylish appearance and durability; however, they tend to be more expensive.
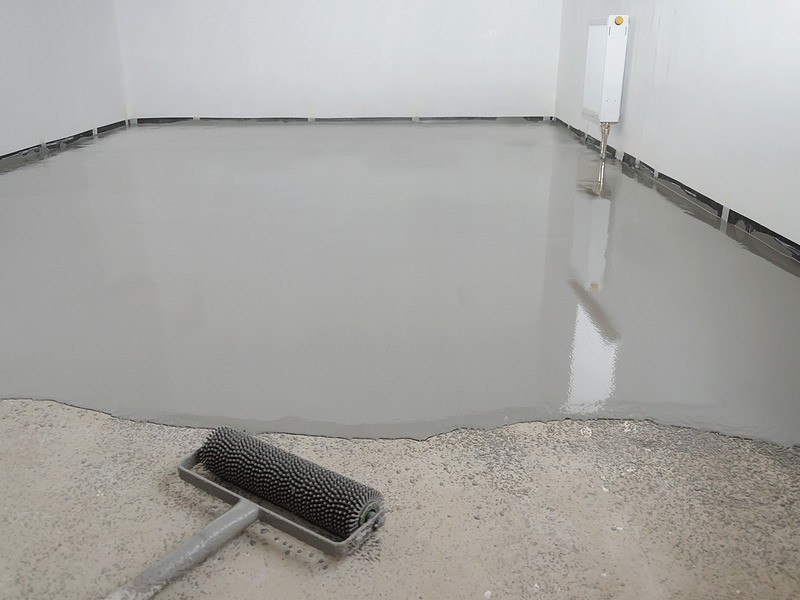
Garage Floor:
The most common garage floor materials are concrete (usually sealed for durability), epoxy coatings for a tough, easy-to-clean surface, and polished concrete for a sleek, low-maintenance finish. Epoxy coatings are more expensive.

Extra Tips – Experience Sharing
Ordering garage doors directly from manufacturers and separately hiring a licensed installer may be more cost-effective.
Stage eighteen
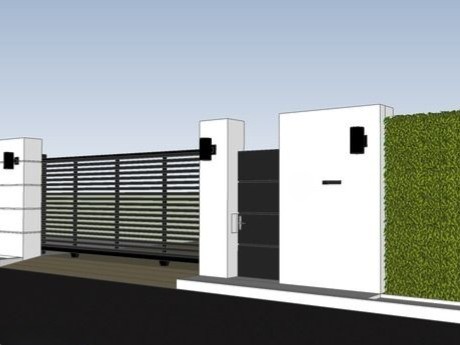
External Works & Landscaping
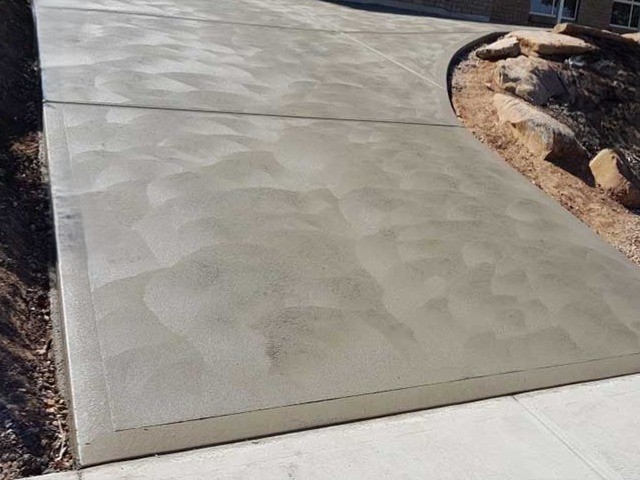
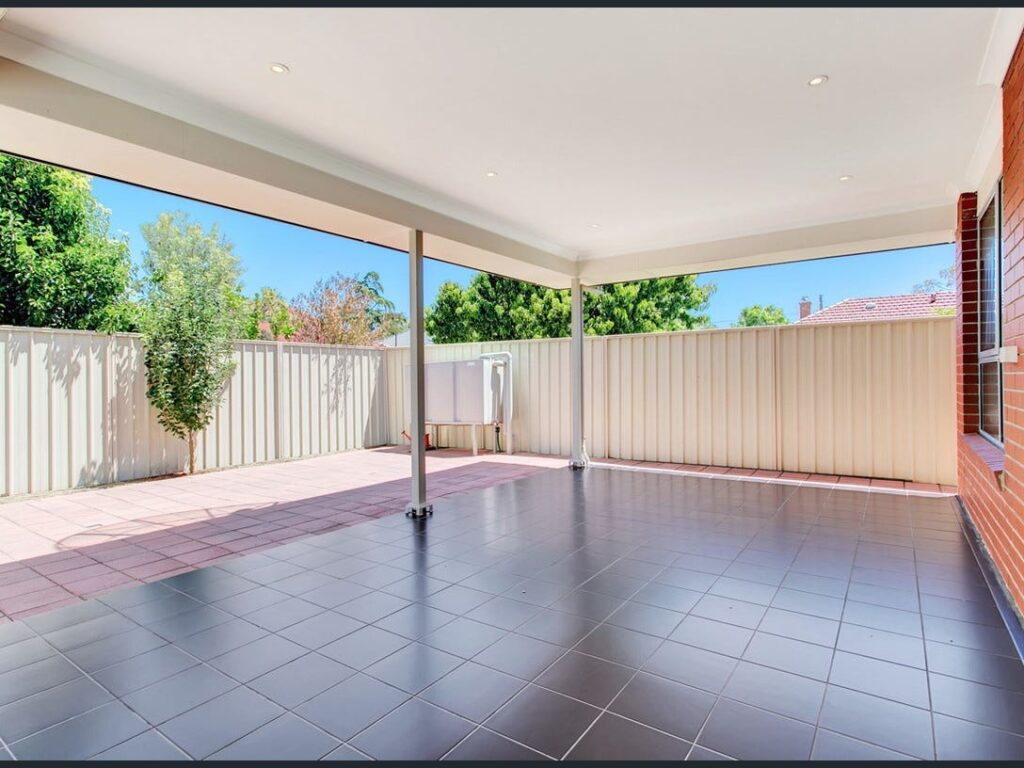
Landscaping for a residential property involves the design, planning and construction of outdoor spaces to enhance a home’s aesthetic appeal, functionality and overall value. Typical features include lawns, gardens, trees, shrubs, pathways, patios (Alfresco/Verandah), driveways, fencing, lighting and irrigation systems. As the scope, materials and design complexity can vary considerably, landscaping costs often differ significantly depending on the size of the property and the specific selections made.
Caution: Before starting any landscaping work, such as driveways, pathways, fencing or digging, it is essential to check with BYDA (Before You Dig Australia) to identify underground services. This step ensures your project is safe, compliant, and helps prevent damage to essential utilities.


Stage NINETEEN
Post-Construction Cleaning:
Post-construction cleaning involves a thorough cleaning of the entire property, both indoors and outdoors, after construction is completed. It removes all dust, debris and construction residues from floors, walls, windows, fixtures, fittings, and external areas such as driveways, pathways and patios.


Stage twenty
Practical Completion
Practical completion is the stage when a building is finished enough for the owner to occupy or use it, even if minor work or defects remain to be fixed.
A handyman is often hired after practical completion to efficiently fix minor defects and complete finishing tasks, providing a cost-effective way to make the home fully functional and ready to live in.

Click to access “Residential Property”
Disclaimer: This article provides data and content of a general nature only and should not be construed as any form of advice. Readers are encouraged to seek appropriate professional guidance before acting on any information contained herein.